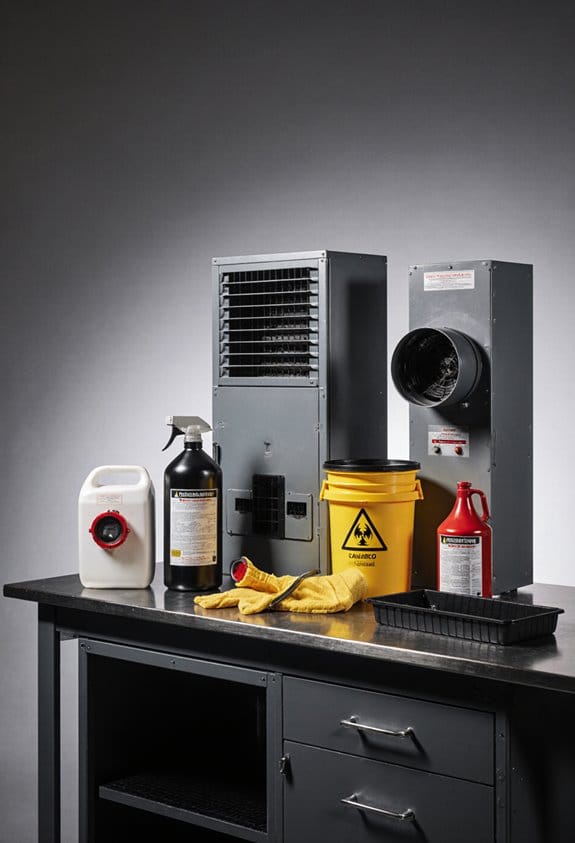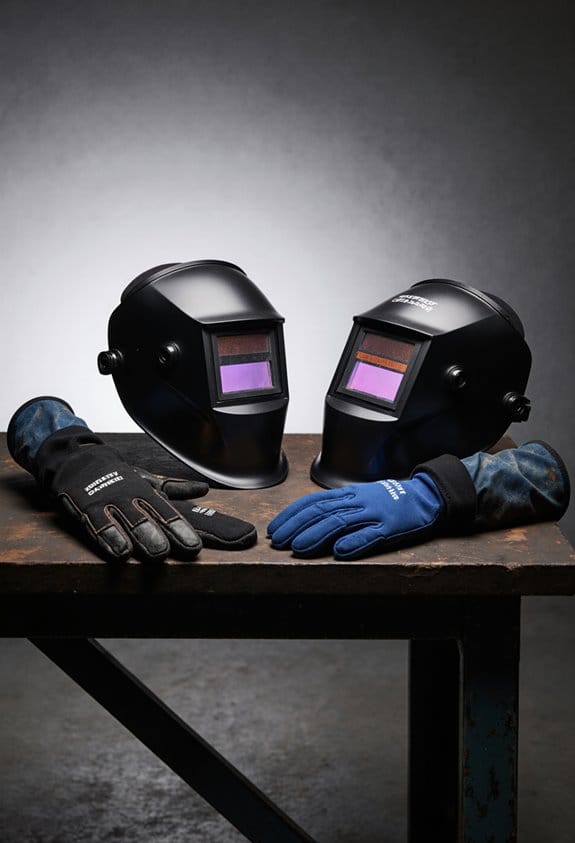
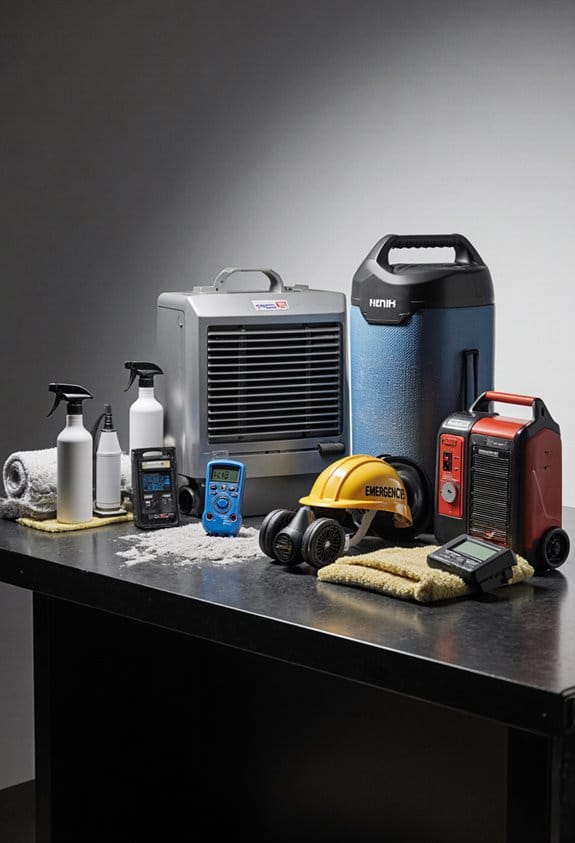

What do you do when water has invaded your apartment? It’s a scenario none of us want to face, but a leak can easily lead to a mold nightmare if you don’t act fast. The first step? You’ve got to turn off the electricity in the affected areas. Safety first, right?
Once that’s done, gear up for the cleanup. Grab an N-95 mask and some gloves—these are essential to protect yourself.
Now, it’s time to dry things out. Use fans and dehumidifiers to get the area as dry as possible. You might even want to set up containment zones with plastic sheeting to keep any mold spores from spreading.
Take a moment to document the damage while you’re at it. Snap some timestamped photos. This might come in handy later, especially if you need to show your landlord the extent of the issue.
Speaking of which, don’t forget to notify your landlord in writing about what’s going on. It’s important!
Now, you might be wondering whether to tackle the cleanup yourself or bring in the pros. Honestly, the decision can depend on the extent of the damage. If it’s just a small area, you might feel confident handling it.
But for larger leaks or if you’re dealing with extensive mold, calling a professional is likely the better bet.
In summary, acting quickly is key to preventing mold after a leak. Gather your gear, dry out the area, and keep your landlord in the loop.
It’s a tough situation, but you’ve got this. What’s your plan if this happens again?
Key Takeaways
- Turn off electricity in damp areas immediately to ensure safety during cleanup.
- Use protective gear, including N-95 respirators and gloves, while addressing mold issues.
- Dry out moisture using vacuums, towels, fans, and dehumidifiers within 24 hours.
- Document water damage and mold with timestamped photos for records or insurance claims.
- Notify your landlord in writing about mold problems and keep a file of all communications.
Immediate Actions Within 24-48 Hours
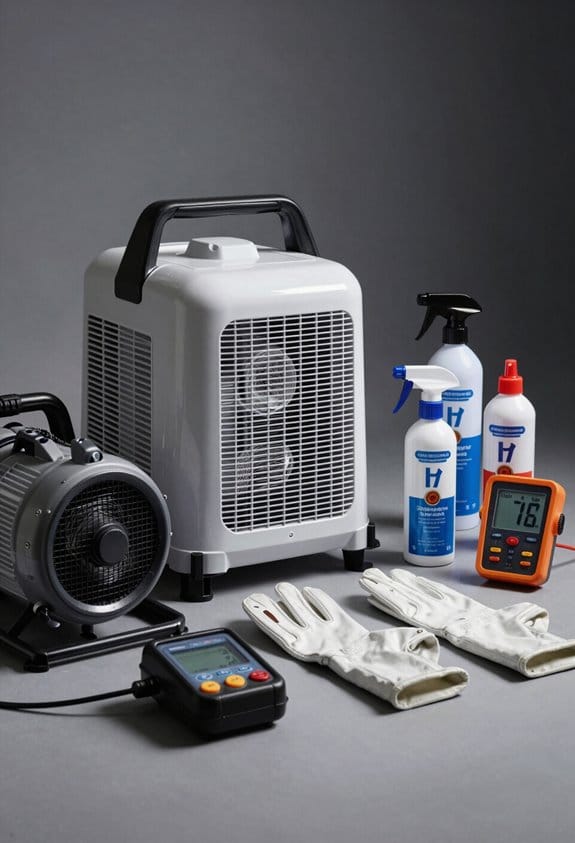
Have you ever walked into a room and been greeted by the smell of dampness? A leak can feel overwhelming, but acting fast can help save your home from mold and extensive damage.
First things first, make sure to turn off the electricity in any damp areas. Safety should always come first, right? Then, grab your phone and take timestamped photos of the water source and affected spots. This can really help out when dealing with insurance claims or notifying your landlord.
Next up, drying out that moisture is key. You can use vacuums, towels, fans, and dehumidifiers to quickly get things dry. If you’ve got extra plastic sheeting lying around, consider creating containment zones to limit the spread of mold spores while you clean up.
Now, don’t forget about personal protective equipment. Wearing an N-95 respirator, gloves, and goggles can prevent unnecessary exposure to mold while you tackle the cleanup. Truth is, you don’t want to end up dealing with health issues down the line.
Consider investing in moisture meters to keep track of humidity levels in your home. This will help you stay on top of any potential mold growth as you work through the aftermath of the leak.
Additionally, proper ventilation systems can reduce moisture buildup and control mold growth during the drying process.
In short, the sooner you act after a leak, the better your chances of preventing mold. What’s your go-to strategy for dealing with water damage?
Understanding the Mold Growth Timeline After a Leak
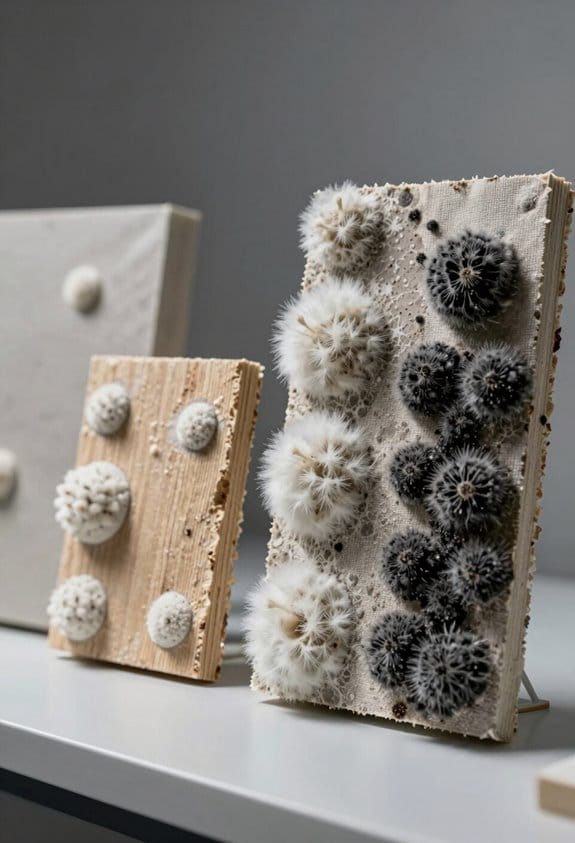
Ever wondered how quickly mold can grow after a leak? It’s pretty alarming when you think about it, especially if you’ve just dealt with water damage in your home. Getting ahead of mold growth is crucial for maintaining a safe living environment.
When water seeps into porous materials, mold spores start off inactive for the first 0 to 24 hours. But don’t let that fool you. In just 24 to 48 hours, those spores can start feeding on the damp materials and, before you know it, they’re releasing mycotoxins. It’s a real situation you don’t want to ignore.
Around the 48 to 72-hour mark, you might notice those pesky dark spots and that unmistakable musty odor creeping into your space. By the time you hit day three to seven, you could face full-blown infestations that may even spread to hidden areas behind your walls or under your flooring. Honestly, that’s when things can get out of hand.
So, if you even think there might be mold lurking after three days of water exposure, it’s time to take action. Don’t hesitate; reach out for professional mold inspection and remediation. It’s all about protecting your home from further damage.
Stay on top of things—pay attention to those early signs of mold, and trust your instincts. Have you dealt with mold issues before? What’s been your experience?
Proper disposal of contaminated materials using leak-proof waste bags can help reduce spreading mold spores during cleanup.
Ensure Proper Mold Containment During Cleanup
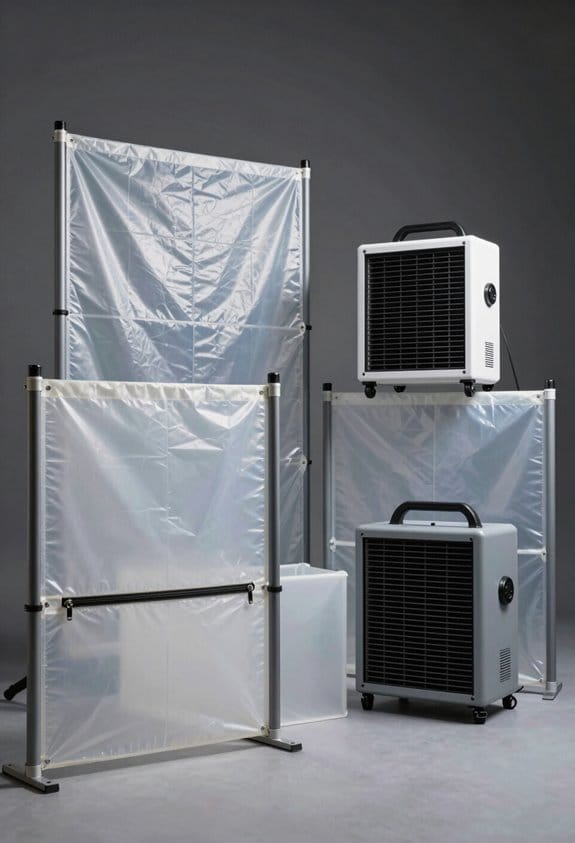
Have you ever dealt with a mold problem after a leak? It can feel overwhelming, but taking the right steps can help keep your home safe. First off, you’ll want to set up proper containment zones. This is crucial for keeping those pesky mold spores from wandering into clean areas of your home. Use plastic sheeting to seal off the affected space. Trust me, it makes a big difference in preventing cross-contamination.
When you’re tackling mold cleanup, don’t skip out on personal protective equipment (PPE). This includes N-95 respirators, gloves, and goggles. It’s about protecting yourself from exposure while you’re at work. Here’s the trick: even if you open windows and set up fans for ventilation, keep your containment setup intact. You don’t want spores hitching a ride to other areas!
As you go through the cleanup process, a simple yet important step is to document your efforts. Snap some timestamped photos of the affected areas and what you’ve done to remediate the mold. Not only will this be helpful for your own records, but it can also come in handy later for any legal or insurance claims.
For additional safety, consider installing a portable eyewash station nearby to quickly flush your eyes if you come into accidental contact with mold spores during cleanup.
Recommended Products

Build a dust barrier in minutes without tape, ladders or damage

Ready to meet any dust barrier challenge

The ORIGINAL Containment and Dust Barrier Tape designed for use in preventing the spread of dust and harmful particles, including lead paint dust, asbestos and mold
DIY Cleanup vs. Professional Mold Remediation: Making the Right Choice?
Deciding whether to tackle mold cleanup yourself or call in professionals can be a bit overwhelming, right? If you’ve got a small patch—less than 10 square feet—and you don’t see any major health threats, a DIY approach may be doable. Just don’t forget to wear the right safety gear. N-95 respirators and gloves are must-haves.
But what if the mold is spreading or there’s water contamination involved? In that case, it’s definitely smarter to hire a pro. They have access to advanced tools and methods for thorough mold removal. Plus, they often provide clearance reports afterward, which can be super important for landlords or for anything related to insurance claims.
Think about it: health risks, potential structural damage, and the chance of missing spots if you do it yourself. These factors can really weigh on your decision. It’s crucial to assess your situation carefully before you commit.
Having a well-stocked first aid kit on hand is also important when dealing with any cleanup to manage minor injuries safely.
Recommended Products

LARGE LENS: Helps provide wide view for excellent peripheral vision. Scotchgard protector on lens for improved pain and stain resistance

[ High-Performance Airflow ] Powered by a high-performance 12W motor, this PAPR respirator system delivers powerful and adjustable airflow up to 170L/min. With stepless airflow control, you can fine-tune ventilation to match your environment—effectively preventing fogging and stuffiness even during long hours of work.

[ Portable PAPR Respirator ] - PAPR respirator system fully charged can work continuously for more than 7 hours. Compact and lightweight, the waist belt design transfers the weight of the PAPR respirator to the waist, helping to reduce the weight on the face while improving mobility.
Document Damage and Know Your Legal Rights
Have you ever dealt with water damage in your home? It can be such a hassle, and if you find yourself in that situation, documenting everything is critical. Start by snapping timestamped photos of any damage as soon as you notice it. This creates an important record that will be helpful later if you need to file a claim or take further action.
You also need to notify your landlord about any mold problems, and it’s best to do this in writing. Landlords have a legal duty to address these issues, so make sure you’re clear and concise in your message. Ever wonder why it’s crucial to know the laws surrounding tenant rights? Familiarizing yourself with local tenant laws will empower you and ensure that you have a safe living environment.
Keeping a file of all your communication with your landlord is essential. This includes repair requests and complaints; it’s all part of being prepared. If you’ve tried reaching out and the mold issues don’t get resolved, you might consider filing a complaint with housing authorities or seeking legal advice. Protecting your rights under the lease agreement is key to ensuring your living space is safe and habitable.
Additionally, having a well-organized emergency preparedness kit in your home can help you respond effectively to water damage and other unexpected situations.
In short, documenting damage, communicating with your landlord, and knowing your rights can make a big difference. What steps are you taking to safeguard your living environment?
Best Practices for Repairing Water Damage and Preventing Mold
Dealing with water damage can be a real headache. Have you ever noticed how quickly things can go from bad to worse when water’s involved? That’s why it’s super important to jump into action fast to keep mold from ruining your space.
Start by drying out all the affected materials, like ceiling tiles, within the first 24 to 48 hours. This window is critical because, believe it or not, mold can start sprouting in just 48 to 72 hours after water exposure. Don’t let that happen!
Next, consider using mold-resistant materials when making repairs. Think about waterproof flooring and mold-resistant drywall—you’ll be glad you did in the long run. And a quick tip: set up dehumidifiers to keep indoor humidity levels below 50%. This will help create an environment that’s not friendly for mold growth.
Regularly checking moisture-prone areas is also a must. Make a habit of inspecting these spots every six months, especially after any repairs. It’s easier to catch potential water problems early rather than waiting until they escalate.
Effective ventilation goes a long way too. Make sure bathrooms and kitchens are well-ventilated to help keep mold at bay. So, why does all this matter? Because taking these steps can save you a ton of stress—and money—down the line.
Using equipment made from waterproof materials can further protect your space from persistent moisture damage.
Long-Term Prevention Strategies to Avoid Future Mold Issues
Have you ever walked into a room and noticed that musty smell that just won’t go away? It’s a telltale sign of mold lurking in your home, and it can lead to some serious health issues. To help keep your space mold-free, let’s talk about some practical steps you can take.
First off, keeping indoor humidity levels below 50% is key. High moisture is like a welcome mat for mold, so think about picking up a dehumidifier for areas that tend to stay damp, like basements or bathrooms. You might be surprised at how much this simple change can make a difference in preventing mold growth.
Next, regular inspections are a must. Check moisture-prone spots like under sinks and behind your washing machine. Catching leaks early is essential because even a small drip can lead to a big problem if moisture collects over time. It’s honestly better to be proactive rather than wait for mold to show up uninvited.
When it comes to repairs and renovations, consider using mold-resistant materials. This is a straightforward way to boost your home’s defenses against future mold issues. So, if you ever find yourself in a position to replace drywall or flooring, keep this in mind.
Also, think about ventilation. Installing exhaust fans in kitchens and bathrooms can really help control humidity levels. Proper airflow makes a huge difference, especially after cooking or taking showers.
Lastly, make sure everyone in your household knows the importance of reporting signs of water damage. If they notice anything unusual, like a leak or even just a water stain, they should speak up! Quick responses to potential hazards can save you a lot of headaches down the line.
To sum it up, staying ahead of moisture is your best bet against mold. Using reliable water filter cartridges can also improve indoor water quality, further reducing conditions favorable to mold growth. Are you ready to tackle those trouble spots in your home?
Monitoring Health After Mold Exposure
After mold exposure, monitoring your health closely is key. Have you noticed any changes or symptoms creeping in? It’s crucial to pay attention to things like headaches, congestion, fatigue, or breathing problems, particularly if you have allergies. Keeping track of these symptoms not only helps you identify patterns but also provides valuable info for your doctor.
If any of these issues stick around or get worse, don’t hesitate to seek medical attention. It’s also worth considering mold allergy testing to uncover any sensitivities you might have. Why is this important? Because ongoing exposure can lead to more serious health problems down the line.
Keep an eye on your living environment, too. If you see or smell mold in your space, that could signal continued exposure. Honestly, you have every right to request inspections or remediation from your landlord. It’s essential to fight for a safe and healthy living space.
Using proper protective equipment like an N95 respirator can help reduce inhalation of mold spores during cleanup efforts.
As you process this, remember to stay proactive about your health and environment. Make note of any changes and reach out for help when you need it. What steps will you take to ensure your space stays mold-free?
Frequently Asked Questions
What to Do Immediately After Mold Exposure?
After mold exposure, we should quickly address health effects by stopping moisture, documenting damage, and using proper cleanup methods like vacuuming. Let’s implement prevention strategies to keep our spaces safe and mold-free moving forward.
Is Mold in an Apartment Considered an Emergency?
Yes, mold in an apartment’s definitely an emergency. It poses health risks that we can’t ignore. We must know our tenant rights and take preventive measures to guarantee our living conditions remain safe and habitable.
What Are the Steps for Mold Remediation?
To tackle mold remediation, we’ll document water damage, contain the area, remove contaminated materials, clean surfaces with antimicrobial solutions, and dry thoroughly. This prevents mold growth and addresses health effects, ensuring landlord responsibilities are met.
How Long Do Landlords Have to Remediate Mold?
Landlords typically have 24 to 48 hours to address mold, but delaying remediation can jeopardize tenant rights and health. We must guarantee their legal responsibilities align with mold growth prevention for a safe living environment.